
Inan exciting project that merges art, engineering, and technology, a team of designers and engineers has embarked on the journey of creating a life-sized animatronic mammoth for an upcoming Ice Age exhibition. This innovative endeavor involves a meticulous step-by-step process that brings the ancient creature back to life. Here’s a detailed look at the production stages:
1. Hand-Drawn Sketches
The project begins with hand-drawn sketches, where artists conceptualize the mammoth’s design. These sketches capture the essence of the creature, focusing on its size, features, and overall appearance, serving as a blueprint for the subsequent stages.
2. CAD Drawings
Once the sketches are finalized, the team transitions to creating detailed Computer-Aided Design (CAD) drawings. These digital representations allow for precise measurements and adjustments, ensuring that every aspect of the mammoth is accurately planned before moving to the physical construction phase.
3. Mechanical Steel Frame Construction
With the CAD designs in hand, the next step involves constructing a robust mechanical steel frame. This frame serves as the skeleton of the mammoth, providing the necessary support and structure for the outer layers. Skilled welders and fabricators work diligently to ensure the frame is sturdy.
4. Electrical Wiring for Movement
For the interactive version of the mammoth, electrical wiring is installed to facilitate movement. This step involves carefully integrating discharge lines that will power the mechanical components, allowing the mammoth to mimic lifelike movements during the exhibition.
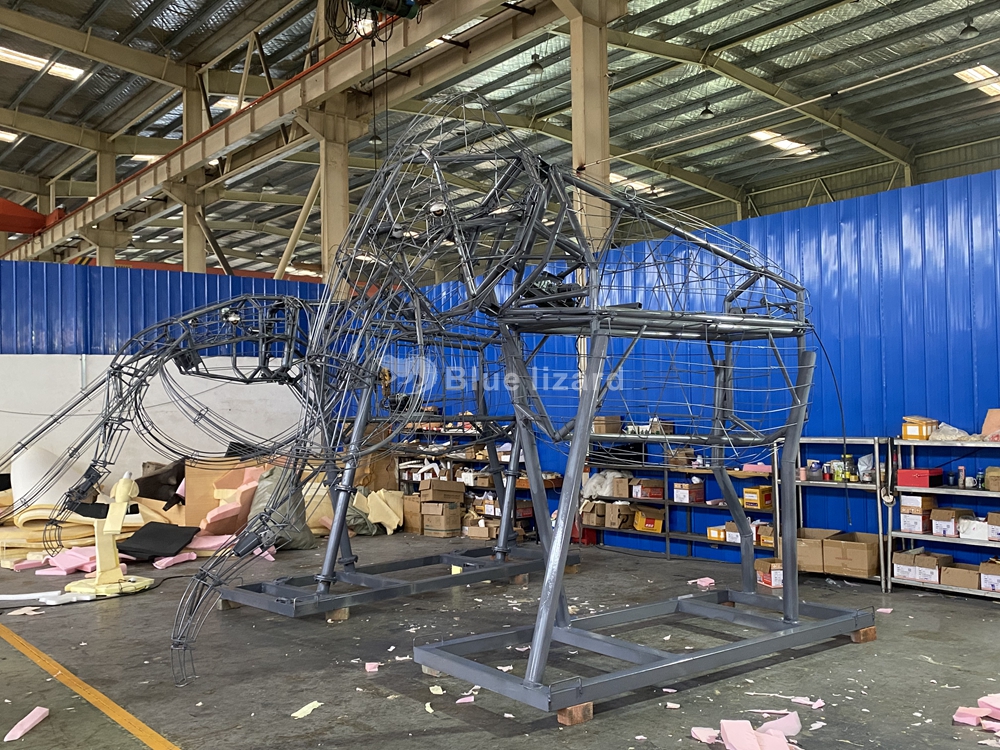
5. Sponge Padding
To create a realistic appearance and texture, the frame is then covered with sponge padding. This layer not only adds volume but also provides a soft surface that will be essential for the final detailing.
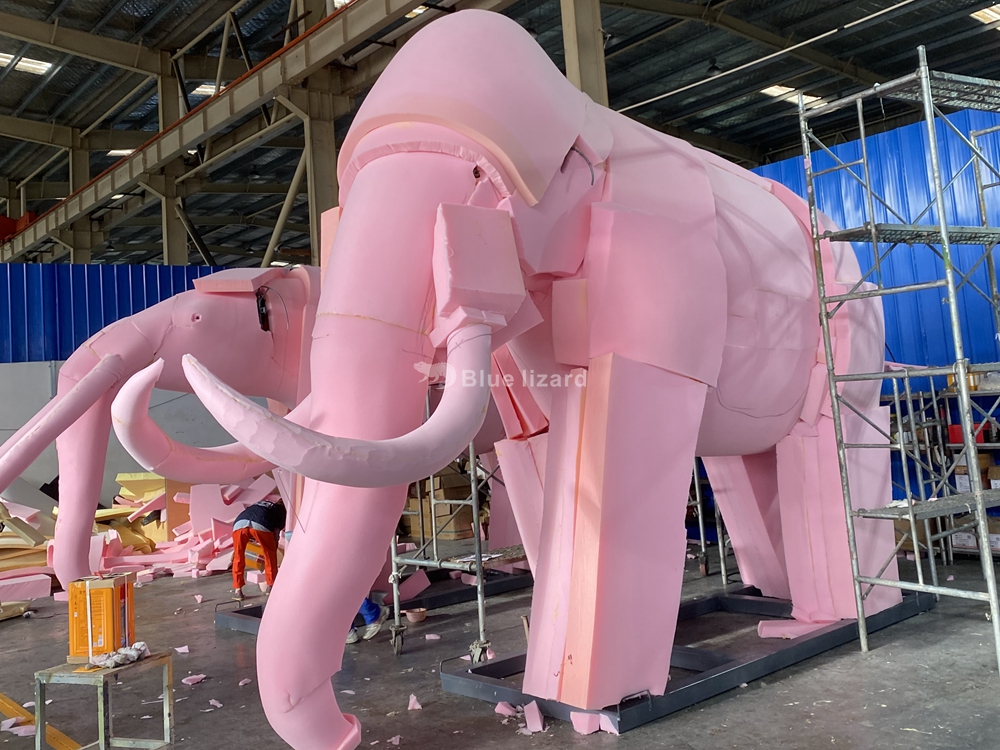
6. Shaping the Form
After the padding is in place, the team begins shaping the mammoth. This involves sculpting the sponge to create the distinct features of the mammoth, such as its large tusks, rounded body, ensuring that it closely resembles the prehistoric animal.
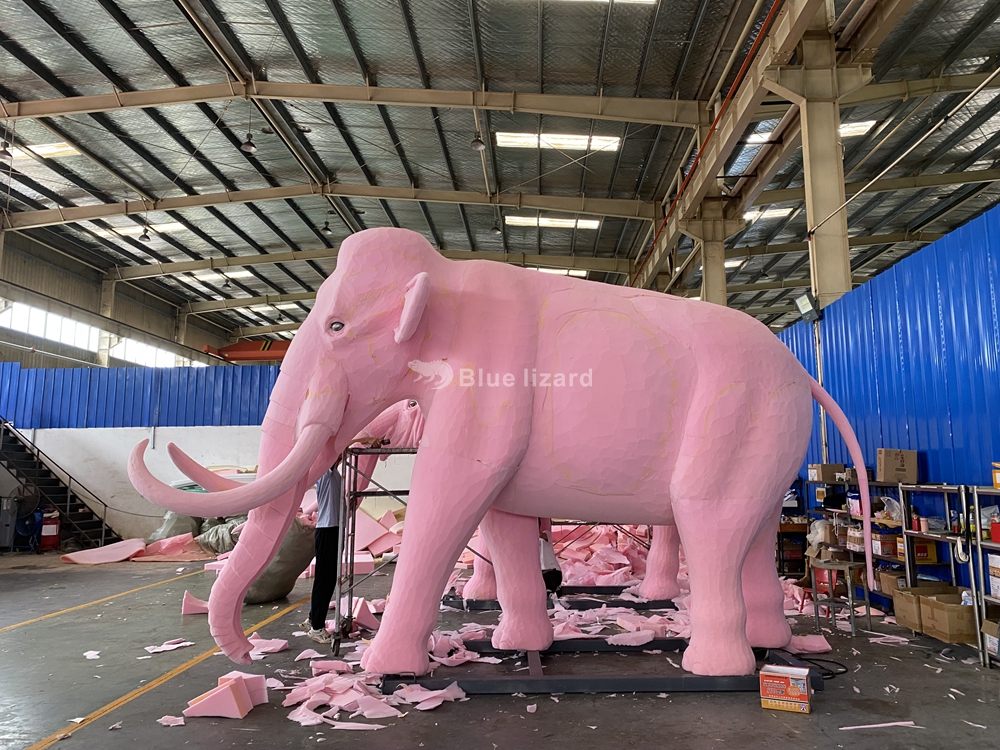
7. Brushing silicone rubber
Once the shape is finalized, a layer of silicone rubber is applied to secure the sponge and prepare it for the next steps. This silicone rubber will help bind the materials together and ensure durability throughout the exhibition.
8. Painting
The mammoth is then painted to achieve a realistic look. The team carefully selects colors that reflect the mammoth’s natural habitat, using shades of brown, gray, and white to mimic the animal’s fur and skin tones.
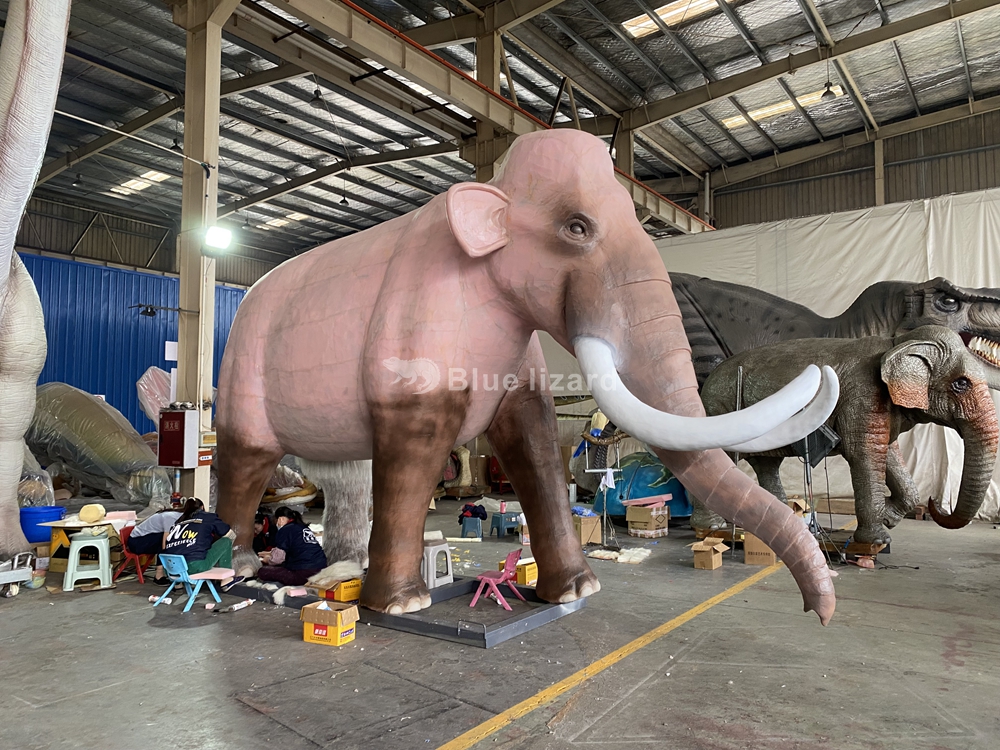
9. Attaching Yak Hair
To enhance the authenticity, yak hair is meticulously glued onto the surface of the mammoth. This step adds texture and realism, making the simulated creature appear more lifelike and visually appealing.
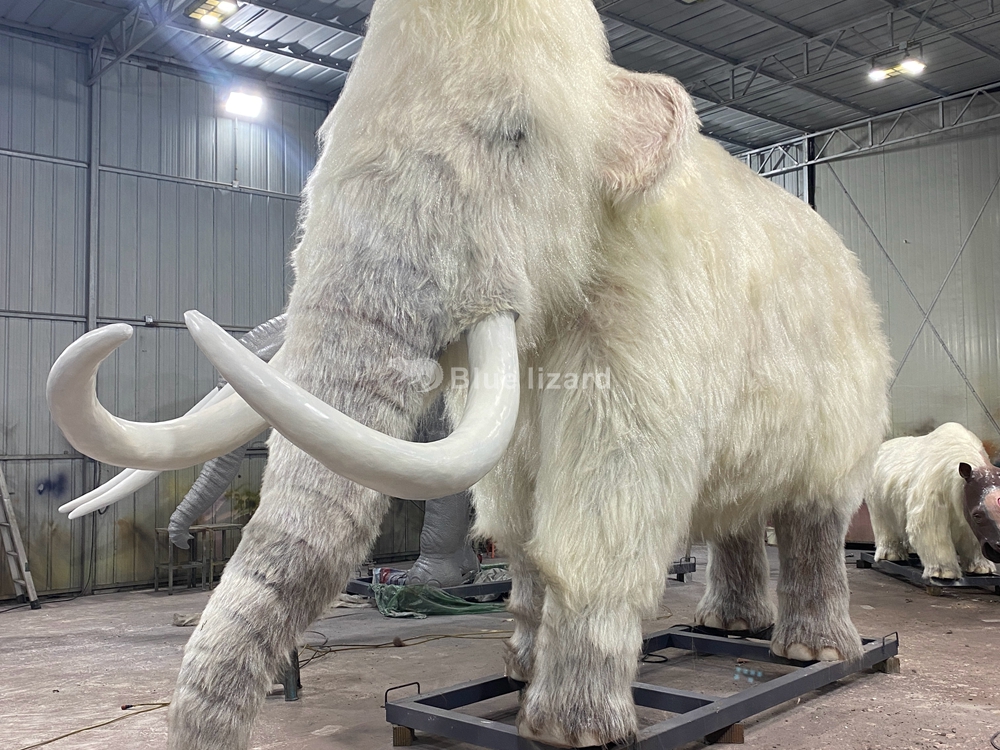
10. Final Coloring Hair
Finally, the mammoth undergoes a second round of coloring to add depth and detail. This includes highlighting certain areas and adding shadows to create a three-dimensional effect, ensuring that the mammoth stands out in the exhibition
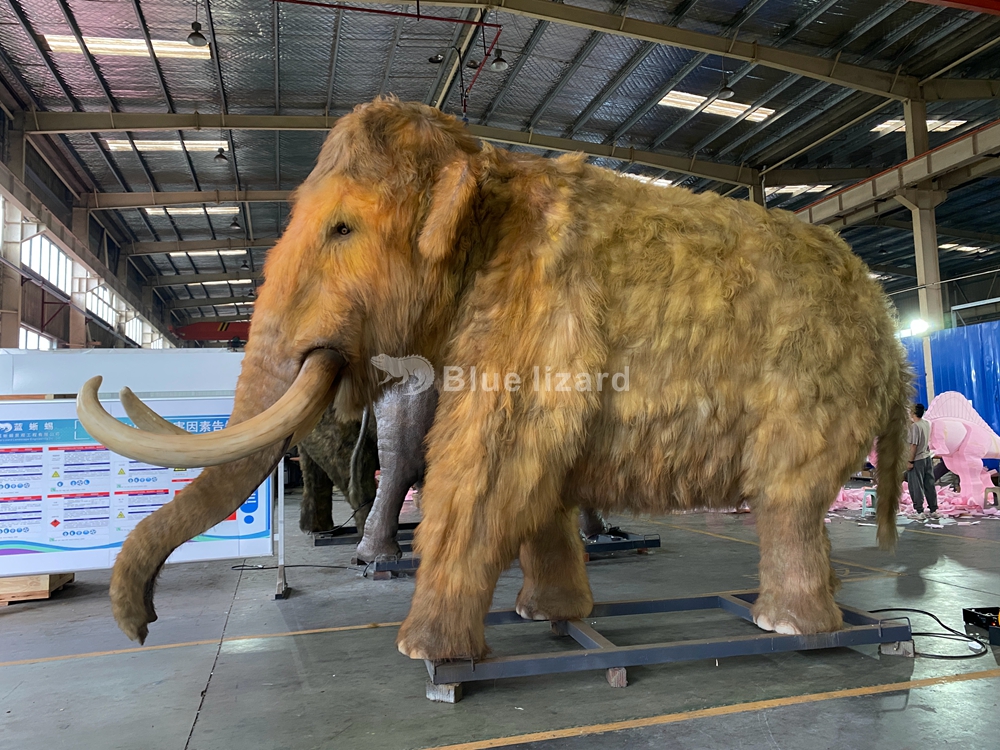
As the project nears completion, the team is excited to unveil their creation to the public. This simulated mammoth not only serves as an educational tool but also as a stunning representation of the Ice Age world, captivating audiences with its lifelike presence. The dedication and craftsmanship involved in this project highlight the intersection of art and technology, bringing history to life in a truly remarkable way.


Post time: Nov-16-2024


